TIGER in Antarctica
November 13, 2001
Happy Camper School, Day 1
OK, this is the big moment. The course known as Snowcraft I, or "Happy Camper School"! Two days and one night out on the ice. Early in the morning, we go to the Field Safety Training Center. There are twelve students and our instructor, Ted Dettmar, has us all go through introductions, including telling what our hidden talents are. It seems a little silly, but an important part of this school is having us work together as a team. Next we go over the contents of a standard Survival Bag.
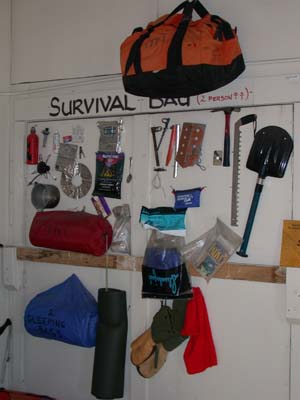 Photo on right: Contents of Survival Bag
Every vehicle, air, sea, and land, that travels far from McMurdo has one of these bags for every two people along. They're meant to keep two people alive for three days. They contain, starting in the upper left and moving clockwise, a cook stove and fuel, food for three days. The food consists of 6 freeze dried meals, some dry mix for hot drinks such as hot chocolate, chocolate bars, and these food squares that are designed to supply all necessary calories, but are only marginally food. They are made from vegetable shortening, flour, sugar, and lemon flavoring. Next are an assortment of tent anchors, for different terrains. Below the anchors is a dark blue pouch that is a first aid kit that is called "The Optimist" and is certainly not enough to handle anything serious. A hammer, snow saw, and shovel are most of the tools you'll need. The plastic bag contains a random assortment of things to waste time with. If you look at the larger version of the picture, you'll see that the humorous instructors have placed a paperback of "Alive", the story of a plane wreck in the Andes where they had to resort to cannibalism. Next is a tent cover, and below that, the very limited amount of additional ECW clothing. Then two partial-length mats (dark gray), two sleeping bags (blue), and a two-person tent (in red). Also important is what is not included: radio, water, and a spare parka.
 Luckily, we will have better equipment than is in a standard survival bag. The object of this course is to learn (and maybe have a little fun), not be extremely miserable in hardship conditions. We'll have better sleeping bags, two full-length pads per person, a polar-fleece sleeping-bag liner, and better food.
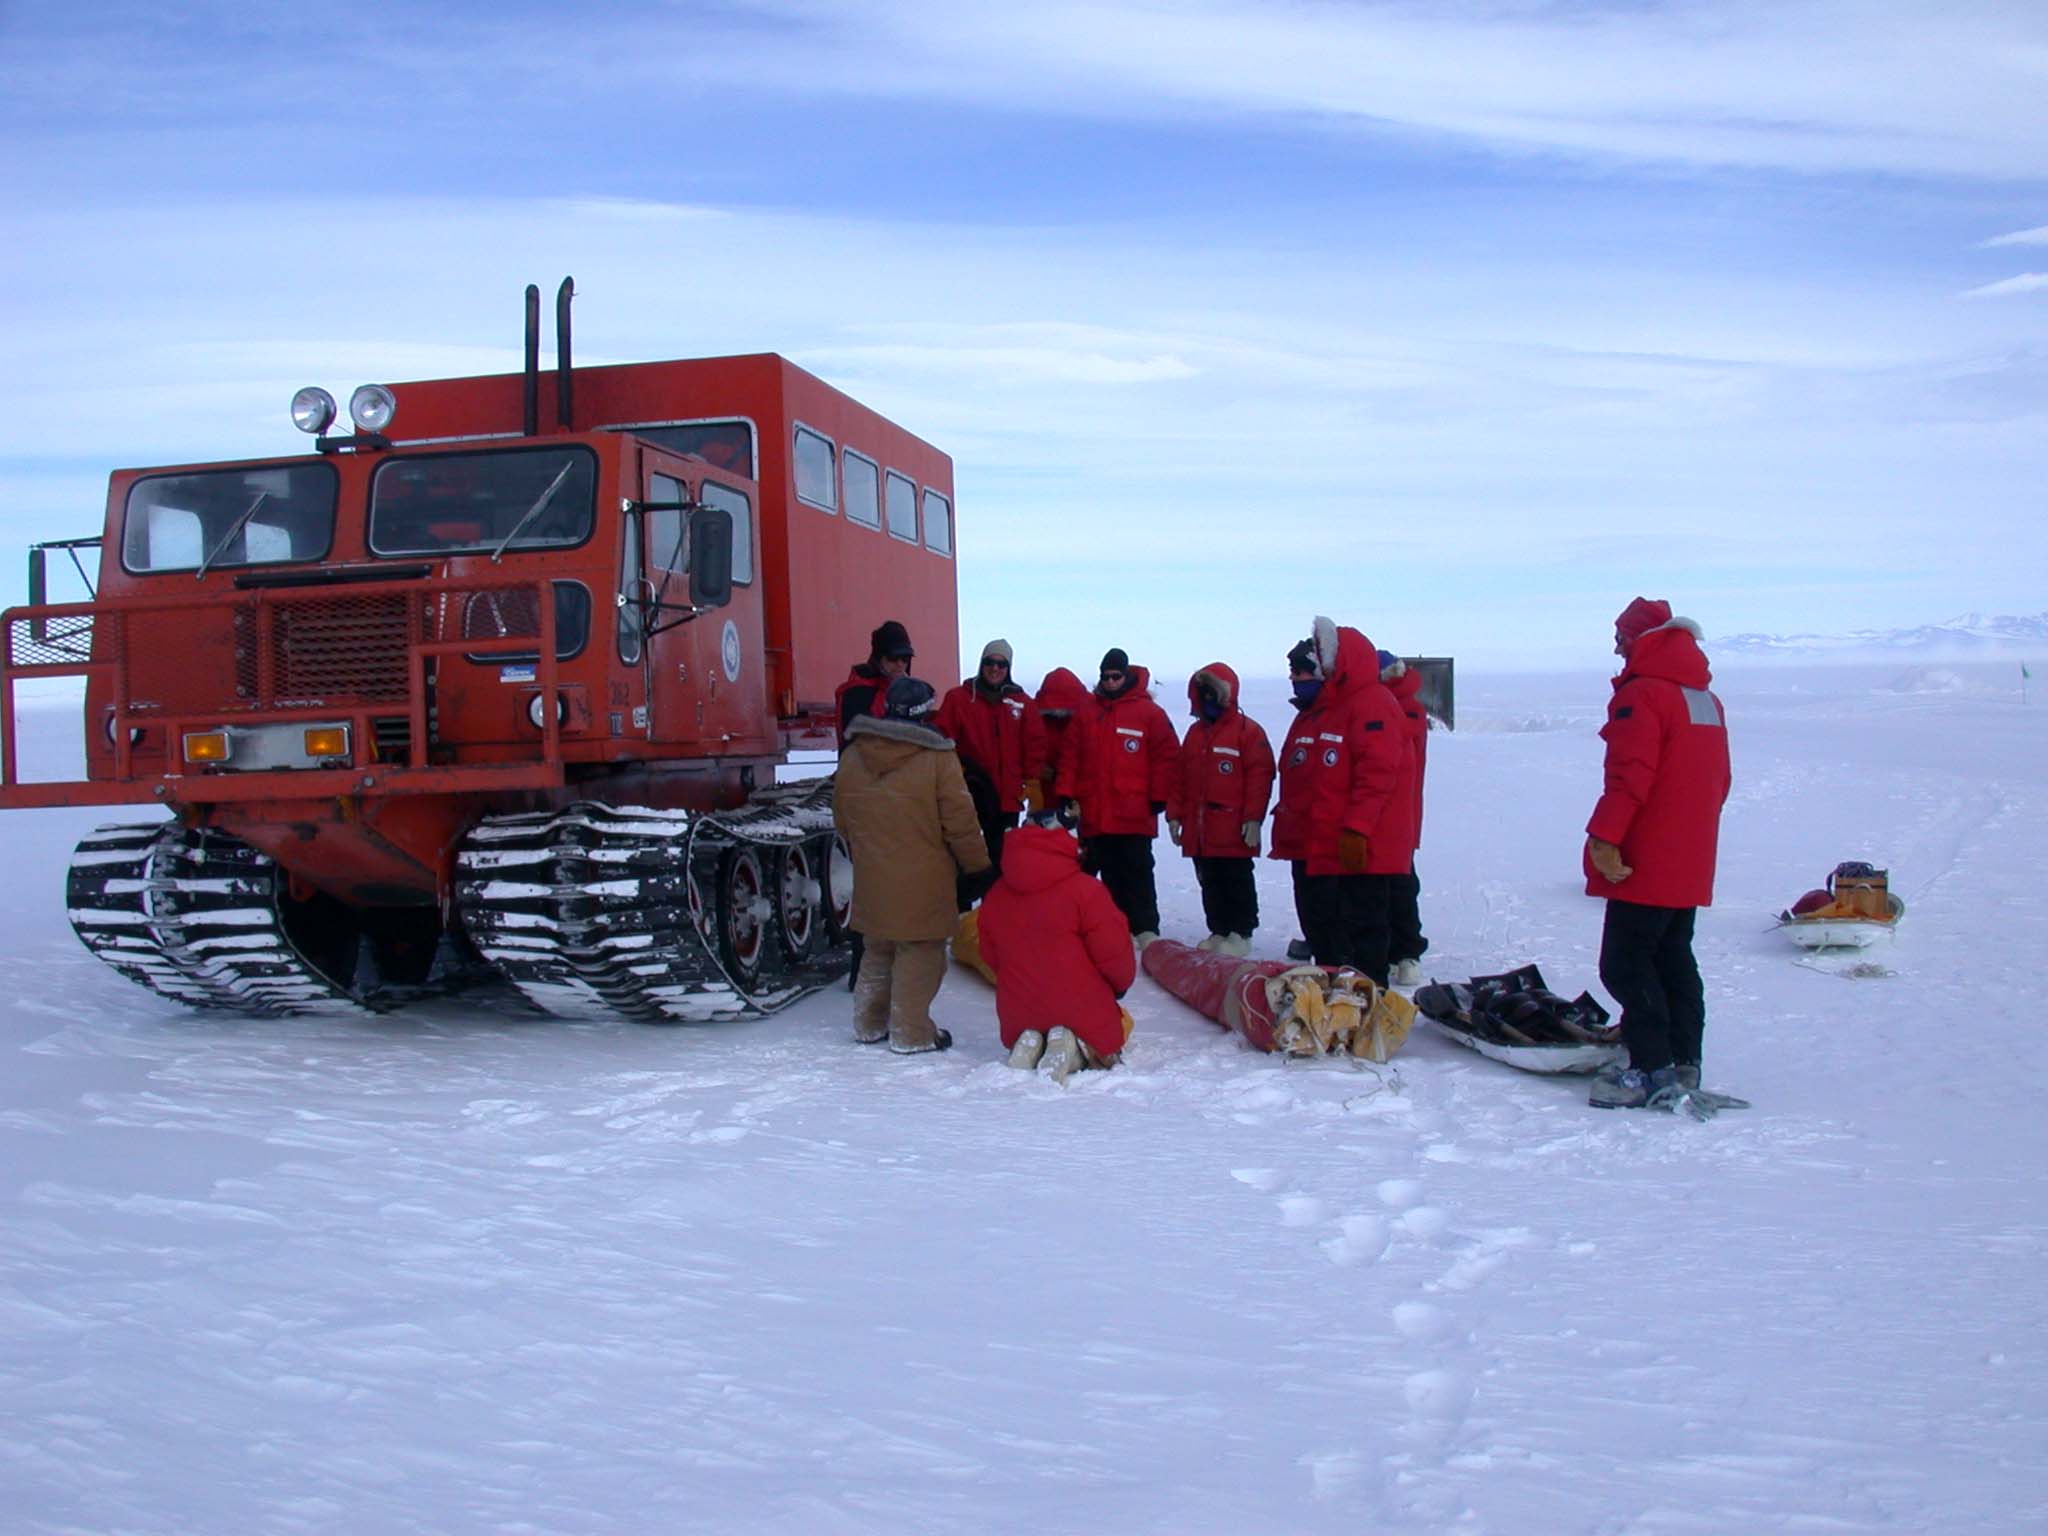
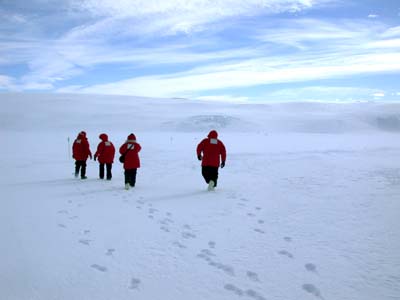
Photo on left: The Happy Campers Team heading to their new home. Eric is on right
Then a slow trip out to "Mound City" (called that because of the snow mounds from previous courses) in a tracked vehicle called a Nodwell. It's only about two thirds of the way to Willy Field (we pass it every day), but it takes us longer to get there. We assemble in the heated Instructors' Cabin for a lecture on cold-related injuries. There are four major things to watch for: Frostbite, Hypothermia, Snow Blindness, and Dehydration. All are preventable if you take the proper precautions. We are also trained in how to use and maintain the small camp stoves. I spill fuel all over the floor and am kept away from the stoves for the rest of camp.
 Photo on right: Unloading our camp gear
Then it's out to our new home. Most of us walk the half mile, and the instructor brings the gear in the Nodwell. The first thing we have to do is to set up the Scott tents. These are a more modern version of the pyramidal tents used by Scott. Although it is not very windy, we learn the proper way to raise the tent in a strong wind. We also learn how to make "Dead Man Anchors", which aren't as bad as they sound. They're a way to use the packed snow to support a surprising amount of tension in the tent guy lines.
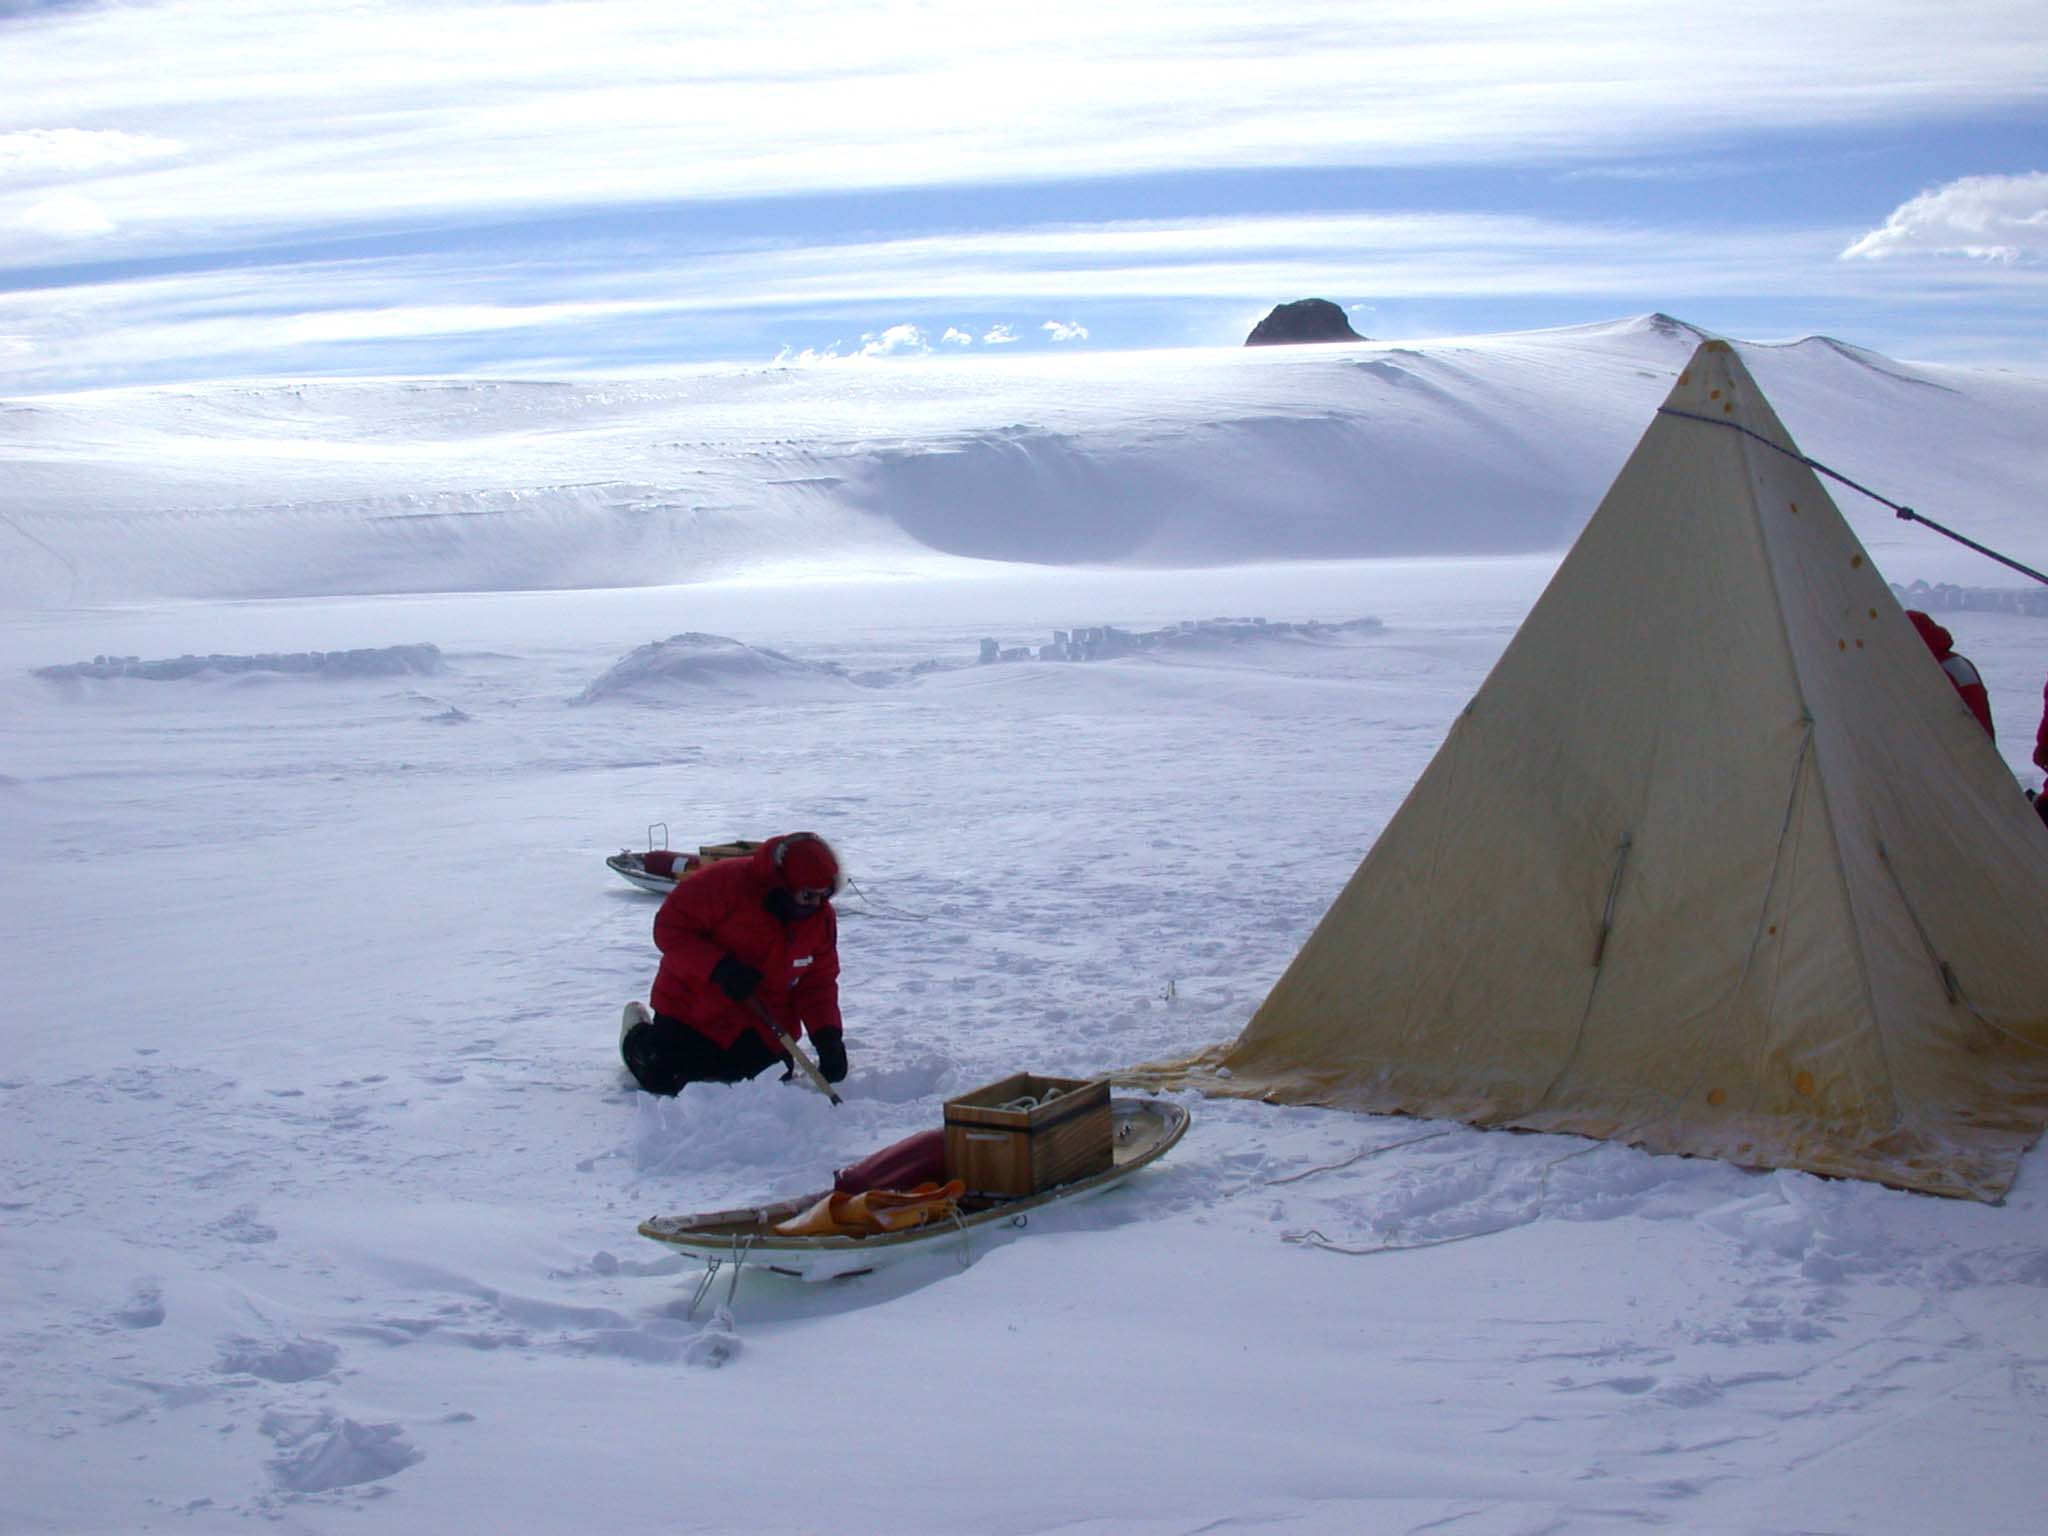
 The picture at left shows me working on one of the dead man anchors. Behind me is Castle Rock. One of the amazing thing about "Happy Campers School" is the terrain. We are on the ice shelf and the view to all directions is phenomenal. Glaciers, mountains, volcanos, the works.
Photo at left: Eric helping set up a Scott tent
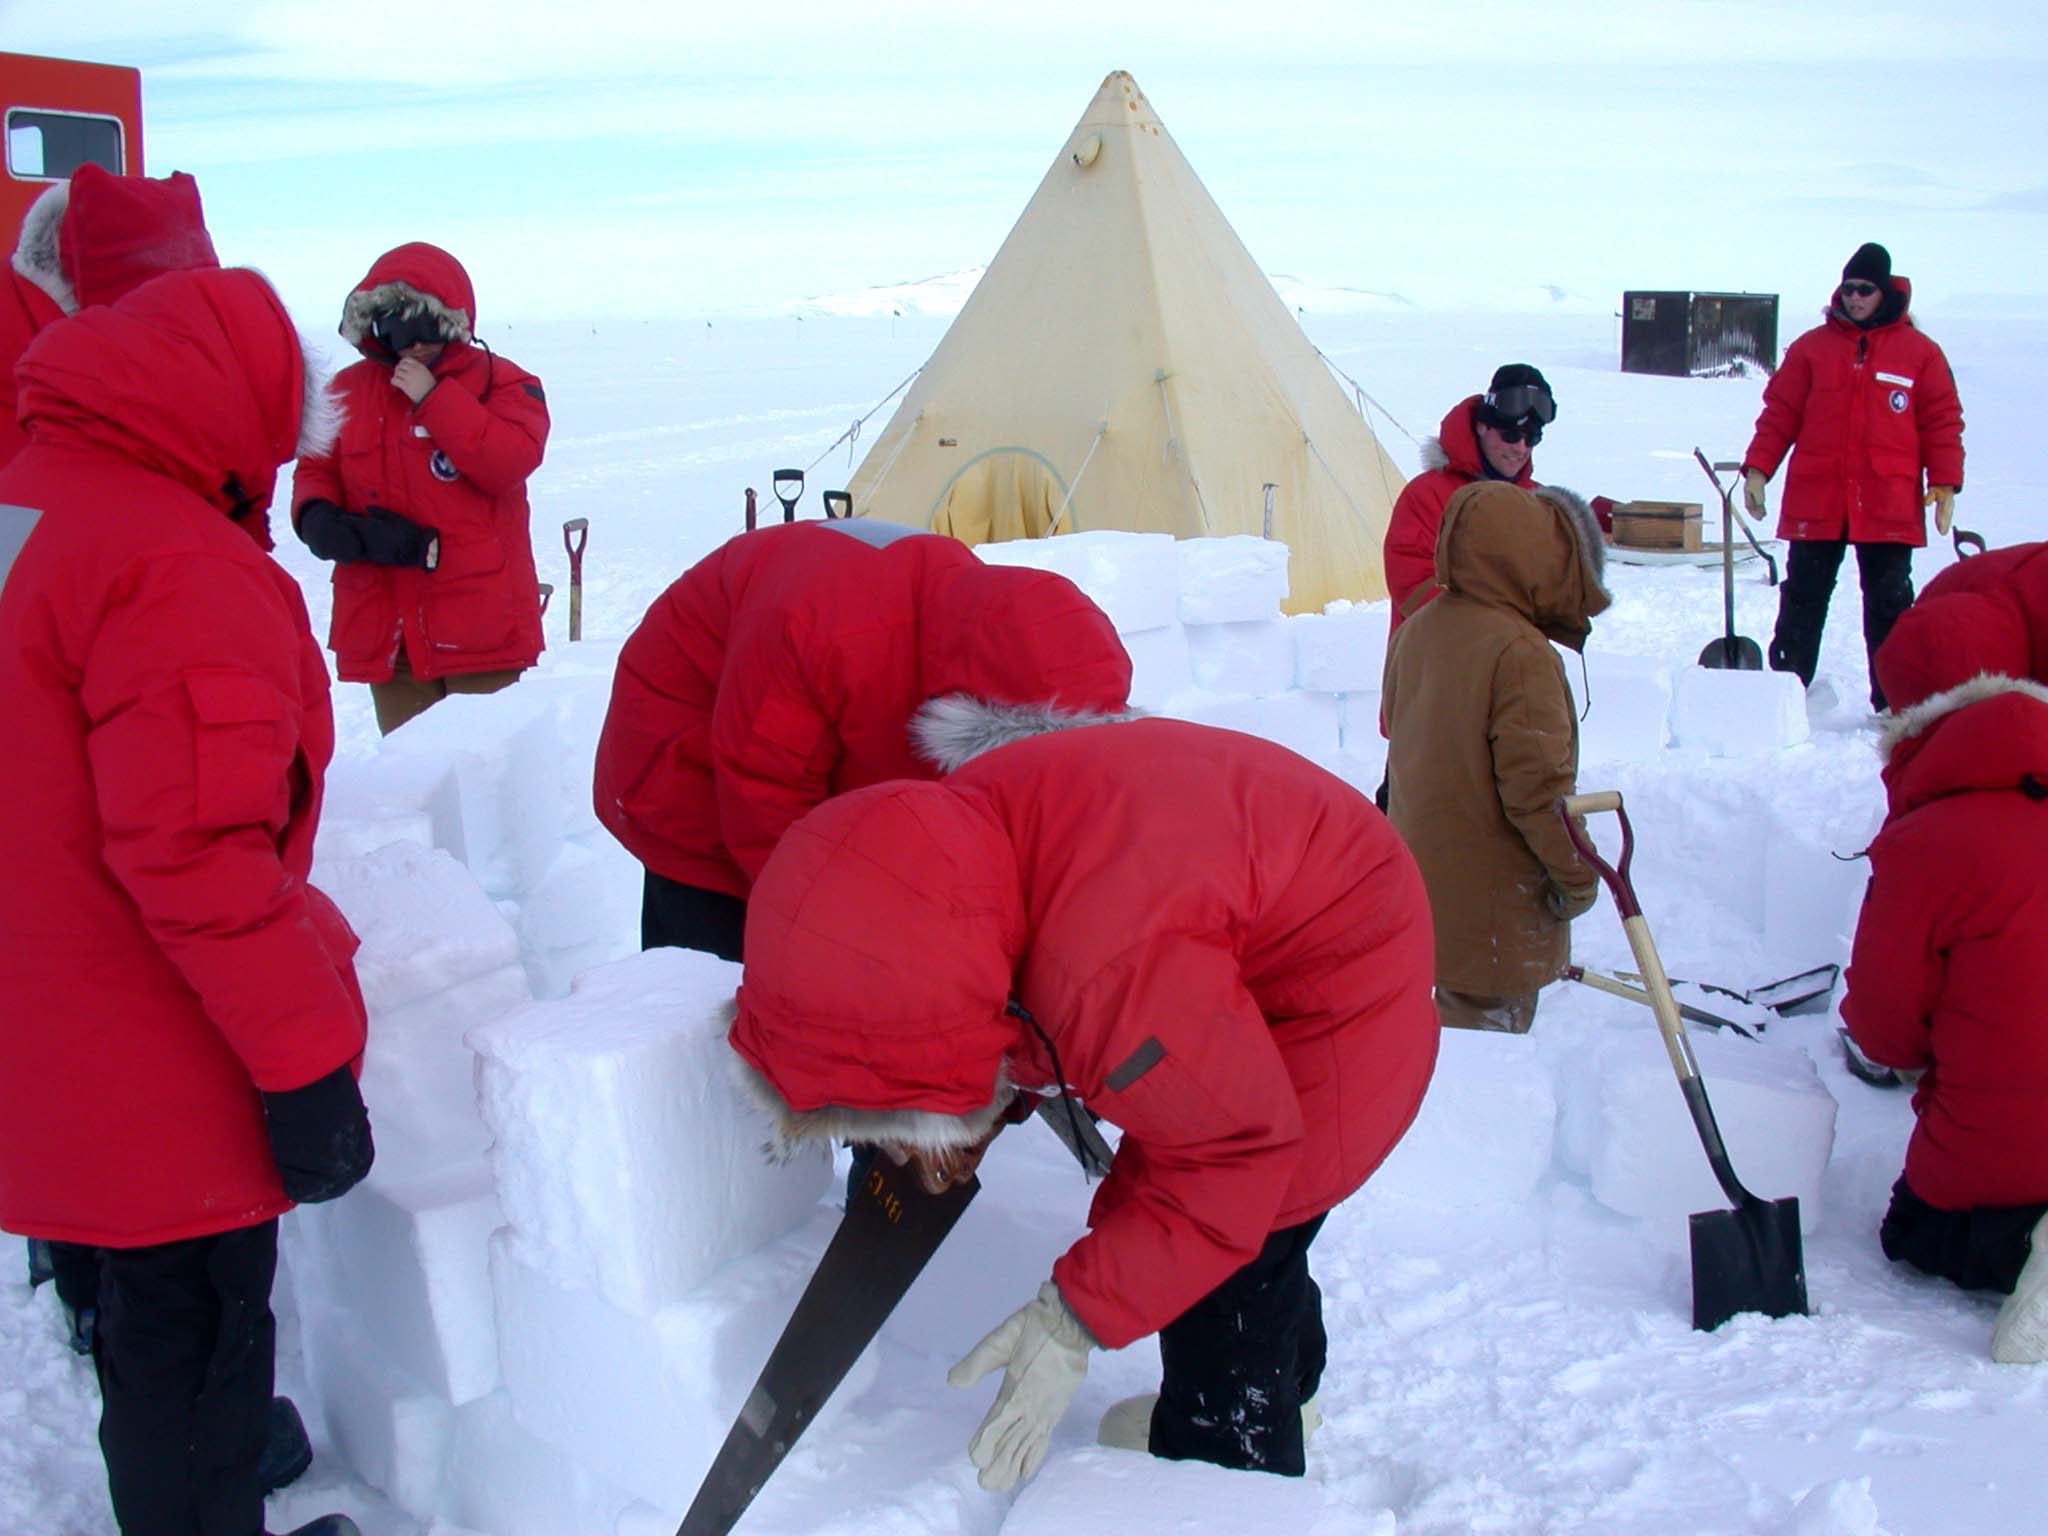
The Scott tents can function as they are, but the much thinner and lighter mountaineering tents need extra protection. So next we need to learn how to make snow blocks and a snow wall to protect from the wind. It is not very difficult, although it is a pretty good workout, and we all work up a sweat. Getting blocks a standard size takes practice, and fitting them together tightly would take more time than we're spending. But we're still proud and confident that our wall will withstand even high winds.
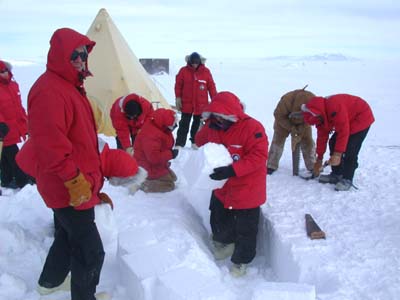 Photo on right: Me, moving snow blocks to make a wind barrier
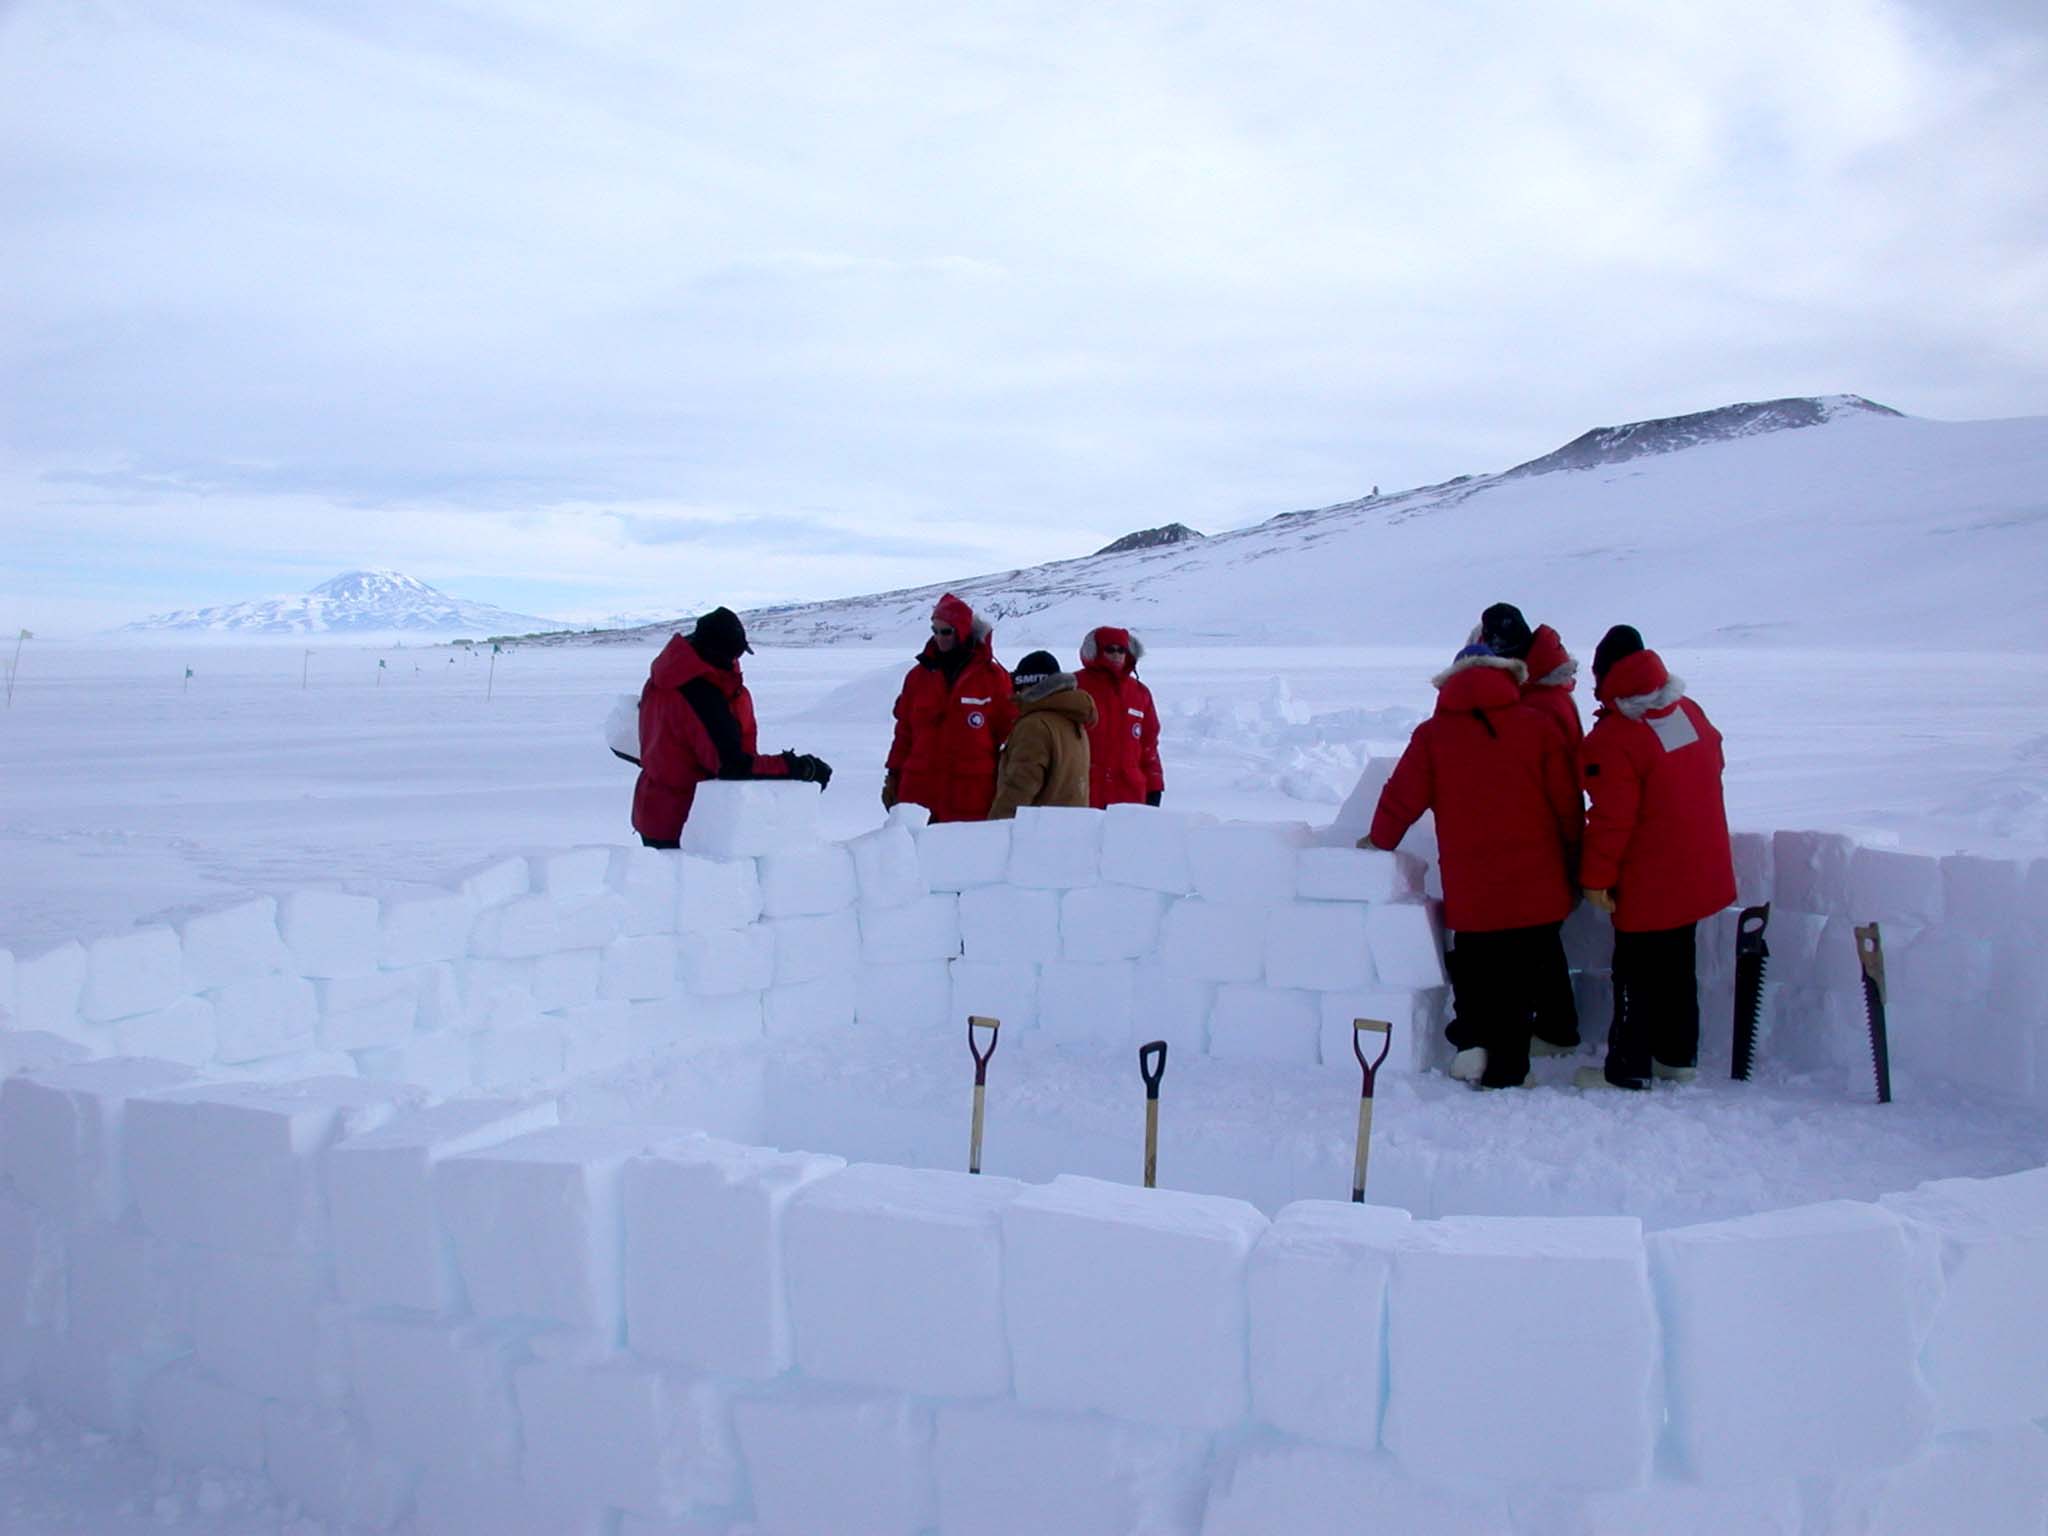
This is the start of the technique we'd need to build an igloo, but we're not going to do that in this course. We also learn how to make the simplest shelter, a snow trench, which is just what it sounds like, with the addition of a snow block roof. The snow wall gets put around the "quarry" of the snow blocks. We'll set up the tents inside the quarry, which will give us another few feet of protection from the wind. We originally plan on building the wall just upwind (the wind is predominantly from the south), but in order to make enough of a depression to set up two tents, we end up having enough blocks to make a full snow fort. As a little decoration, we put up a block with our address (#1). Then we set up the mountaineering tents, which are very thin and lightweight. We are taught knots that are taut, but easily removed even if you're only wearing mittens (they are sometimes called a "trucker's hitch").
 Although we don't build our own snow mound (which is more like a polar bear den than an igloo), we work at digging out some of the already existing mounds. I'm hoping to spend the night in one, to get the full "Happy Camper" experience (yes, I know I'm a lunatic). Some of the team get one entrance dug out, and the inside cavity is pretty large. Garry Simburger (the other TIGER person in school with me) and I try to dig out one. We spend a tremendous amount of time getting the entrance dug out, only to find that the interior is also almost completely full of snow, and it wasn't very big to start with. Various people also try a few other mounds, but none prove profitable. The three New Zealanders out of the team will spend the night in the one mound, and Garry and I opt for one of the mountaineering tents.
Photo on left: The whole Happy Camper team working on the snow wall
 The wind has picked up consderably over the day. It is now COLD. While some of us are working on snow mounds, others are boiling water for dinner. We all select among the various freeze-dried choices. After adding water (the camp stoves are set up in the Scott tents, making them pretty cozy, the same way the original explorers of Antarctica did it), we add water to the "meal packets". You have to leave them for a full 10 minutes, or the food doesn't properly re-hydrate. I try the "Chicken and Brown Rice". After supper, most of us go for a walk up to the edge of a nearby glacier. It's 10 PM and still as bright as day. Then into the tent (two people getting ready for sleep in a small tent is a trip) and sleep.
Photo on right: The finished snow wall
More of this tomorrow.
Dr. Eric R. Christian
Eric's Featured Scientist Profile
This page was last modified on December 19,
2002
|
|
|